
This is short tutorial about implementing support for localizations in React Native apps. We will cover installation of required libraries, 2 main app localization strategies, code + folder structure for localizing text strings and dates, and we will also demonstrate translating JSON locale strings into multiple languages using Google Cloud Translate API.
I can think of two main localization strategies of how localization is handled in mobile apps:
- app localization is taken from device locale
- app can use custom localization (different than device locale)
Which one to choose, is philosophical a.k.a business question. Me personally as a developer, I prefer second option - and this post is also focused primarily on that. If you decided to use first option, you would probably use this package.
Let's not waste time and install following libraries in your React Native app:
npm install i18n-js moment lodash.memoize Then, let's create following folder structure under src folder:
localization
	translations
    		en.json
        	fr.json
        	es.json
    index.js
    persistence.js
    translationFileMappings.js
dateUtils.jsLet's write (I mean copy💖) following code into file called persistence.js (it's just a wrapper layer for AsyncStorage).
Then, let's put all string resources from the app into file called "en.json" (there is a chance, that you will have more string resources than me). We will use this JSON file as a source of truth for all other locales. See my example below:
Next, let's put (copy 💖) code below into localization/index.js file:
Then, let's add following code into translationFileMappings.js. Following map-like💖 structure points lazily to the translations files that we will add later on:
If you want to support dates localization💖 provided by moment, also add code below into same file, translationFileMappings.js (we are using same 'keys' as in previous step, but 'values' are now pointing to moment localization files):
NOTE: Moment is officially deprecated, but if you want to replace it with other library, be aware that lot of them rely on functionality in JSCore itself (and therefore, do not always have to work with Hermes on). Installing moment was for me less painful & faster variant which could or could not be optimal for you (please, remember that I wrote this in September 2021).
Also, if you are using moment, add following code into dateUtils.js to support changing moment locale in React Native in runtime:
If you have chosen localization strategy that is based on device locale, you could probably ignore following few paragraphs (just briefly look at languageList.js to see how you can use translate function in React Native components)
So now, somewhere in the app you would need to render UI responsible for changing languages (list or buttons with supported languages). See quick example below in languageList.js (just, please ignore imports for react-native-animatable/animation or easy-peasy/redux-alternative libraries):
Now the little tricky part is to re-render UI when language is changed - in app runtime. It can be solved either by using React context or by simply, listening to changes in the store from one of the top level components in the app (I assume that you already know, that React components together form tree-like hierarchy).
For example, e.g. just pass the part of store that reflects locale changes via react-redux library to the one of top-level component that renders navigation components (lot of folks call it root navigator).
💖 Now, let's translate our locale files. Some people are skilled in writing shell scripts, some (like me) prefer writing Javascript 💖.
I recommend you to create top-level folder called scripts (just right next to package.json).
As the scripts folder is outside src folder, "imports" / ES6 syntax probably would not work, so you would need to use "require" in all scripts - just a note.
In the end, the folder structure for scripts should look like this:
scripts
	makeTranslations.js
    translations
    	en.json // generated by script
        fr.json // generated by script
...You should create js file with name makeTranslations.js.
Now if you install following lib globally, you would not need to deal with additional package.json, and node_modules:
npm install translate-json-object -gLet's put (copy💖) following code into makeTranslations.js:
It's written in IIFE style (hope you are old enough to know what it is) - if not, read this.
The code inside makeTranslations.js takes en.json file (the one that we called source of truth, if you remember from few lines above), then it takes supported languages (either defined as array in another file called supportedLanguages.js or you can customize script to use Object keys from translationFileMappings.js file).
Then for each localization, the script calls Google Cloud Translate API to translate JSON values from en.json file (keys in JSON are preserved) and puts response from Google Cloud into path of "translation/<<countryCode>>.json".
See the example of supportedLanguages.js file (sorry for not using prettier format):
Just a note, if you decide to use separate file for language codes, country codes in supportedLanguages.js should be the same as in translationFileMappings.js file.
As you can see in the code above, you need Google API Key credentials. So you need to go to https://cloud.google.com/ and login with your account (or sign up).
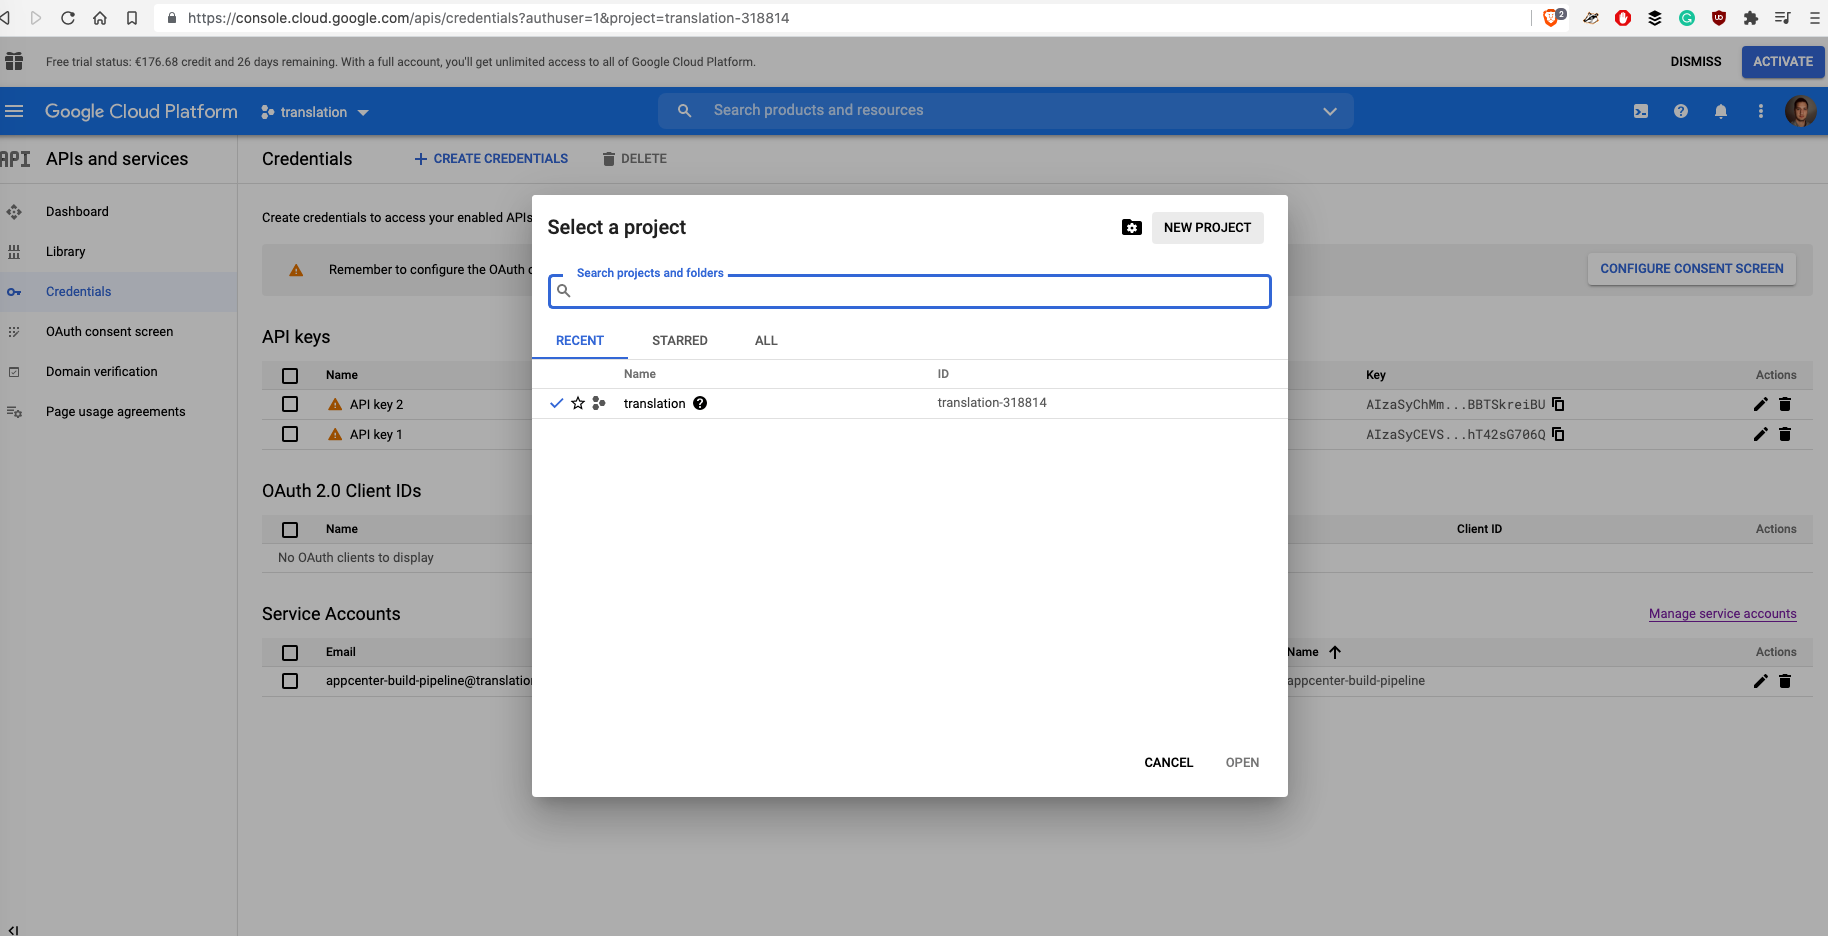
Then I recommend you to create new project (click right next to the Google Cloud Platform Logo):
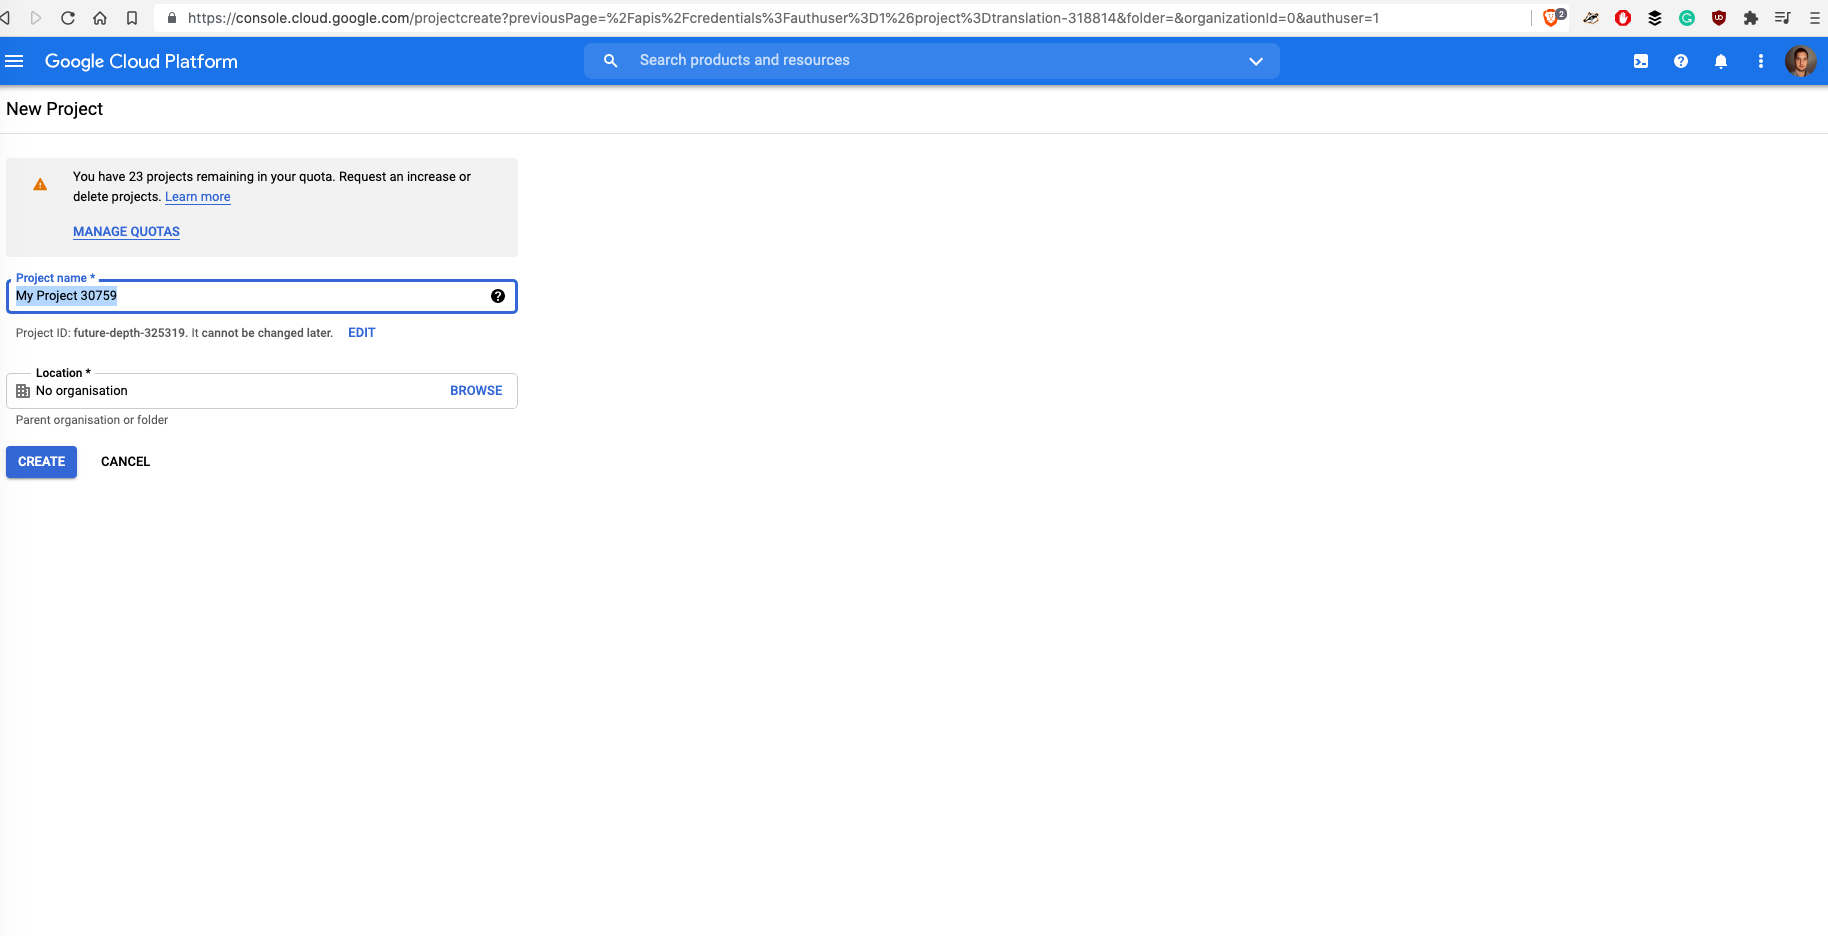
Then, give it some meaningful name:
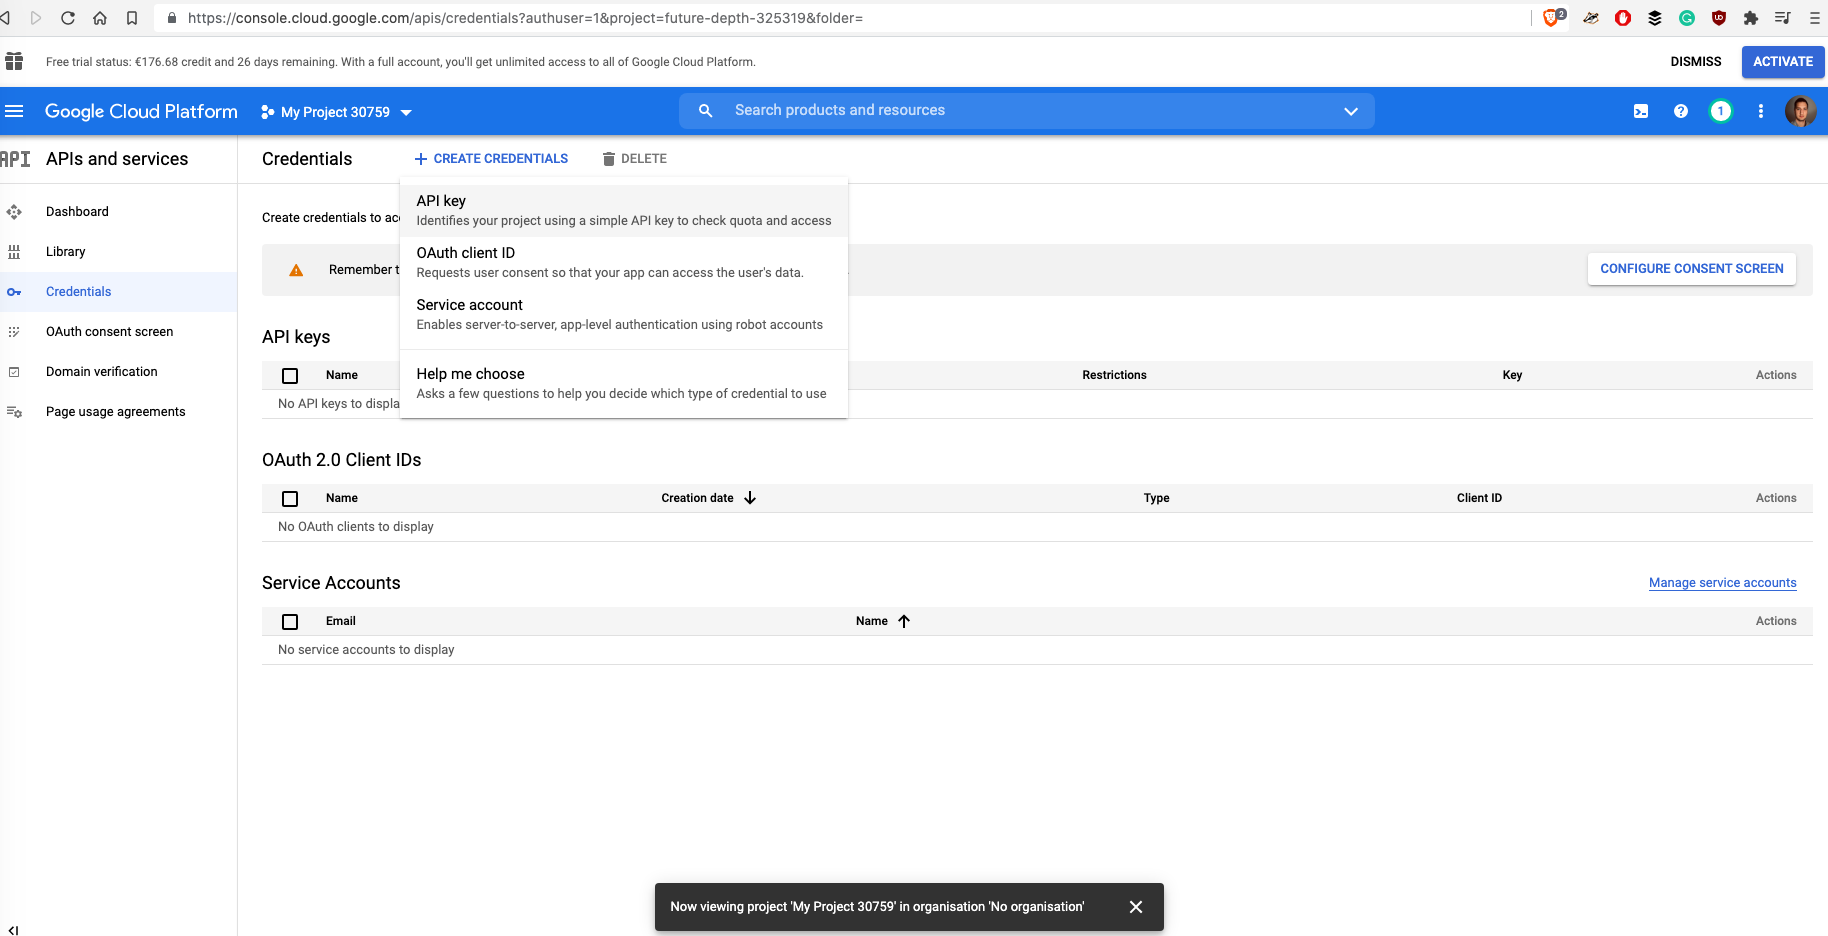
And create API Key by clicking on Credentials (under APIs and services in the left sidebar).
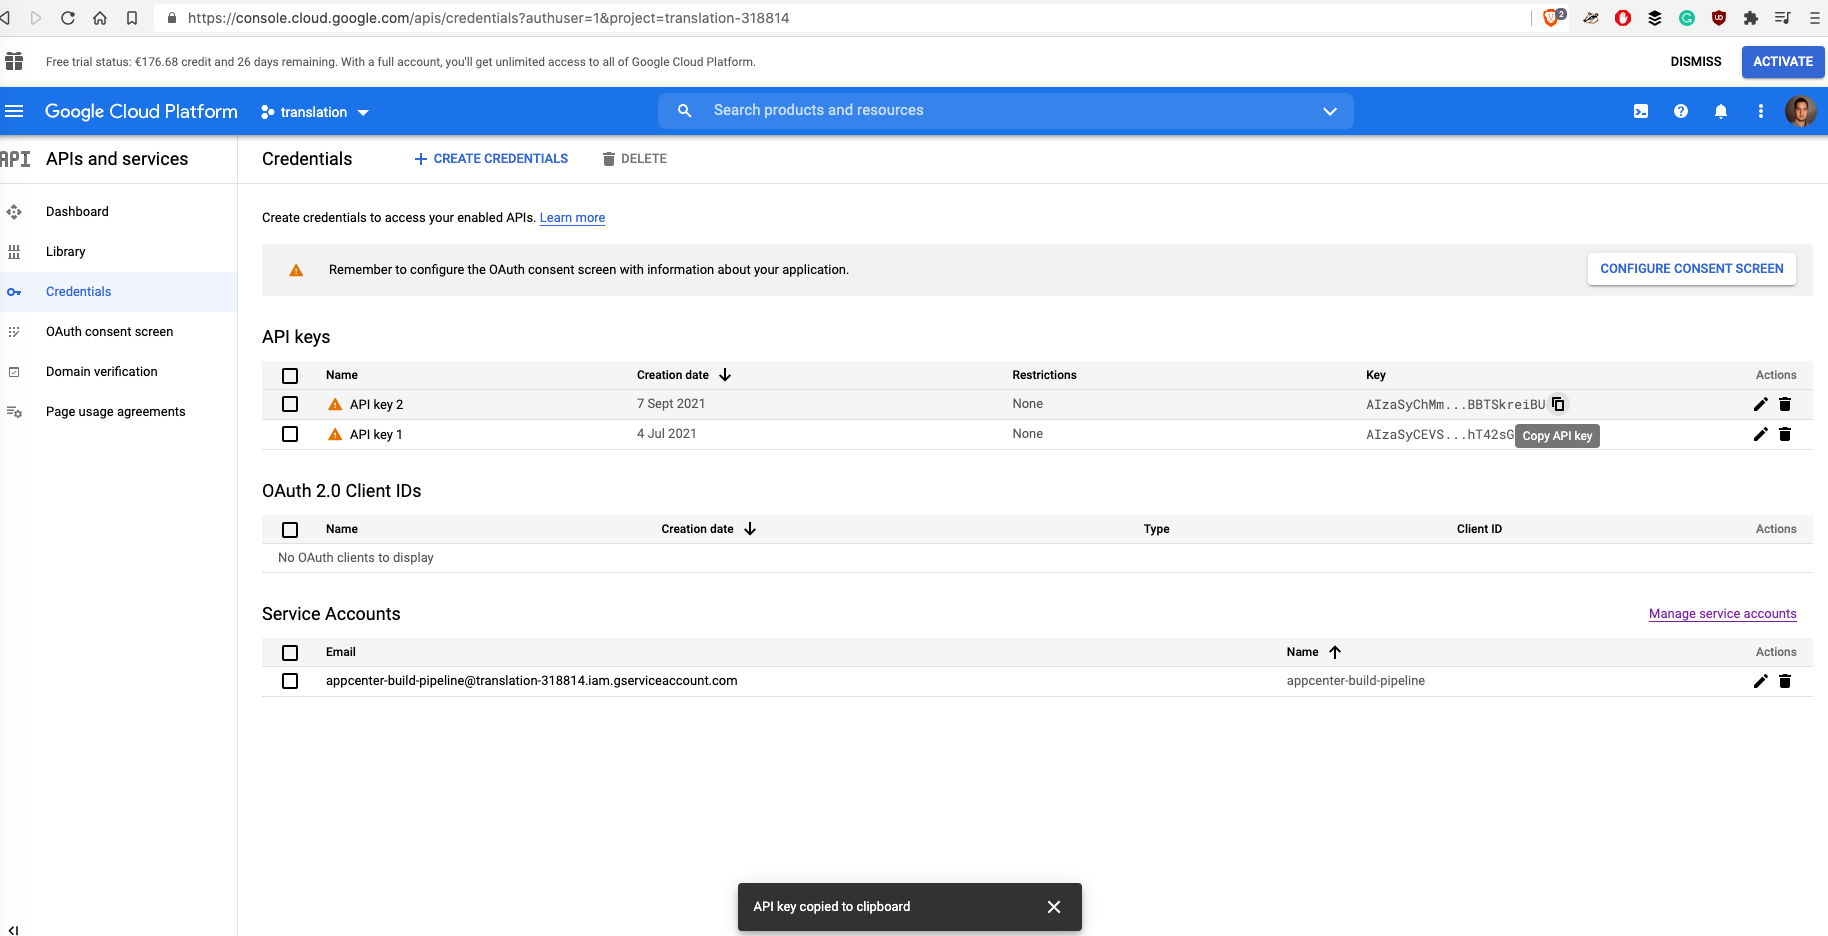
If you did everything right, this is how it would look like in the end. Then just copy the key and paste it into makeTranslations.js file:
Now, let's fix permissions (as with Google, similarly as w/ AWS, lot of services are forbidden by default). Click on Library in the left sidebar.
Then, when you would see something like in the pic below: type "Translate" and hit enter:
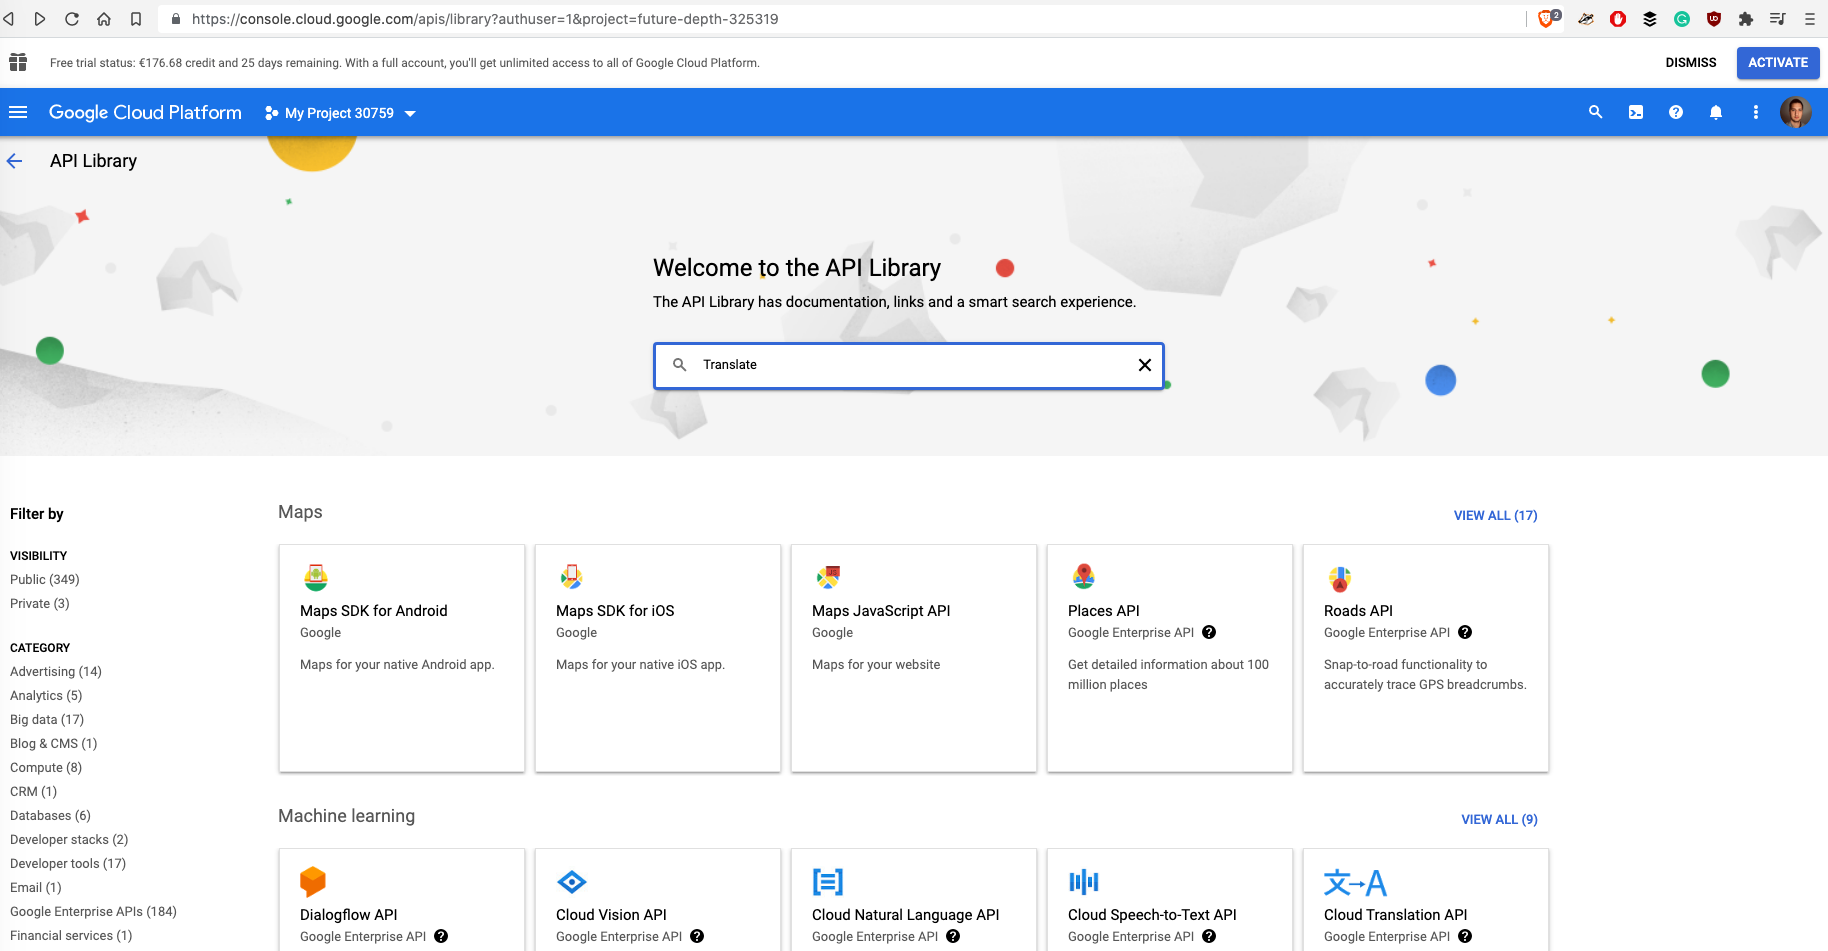
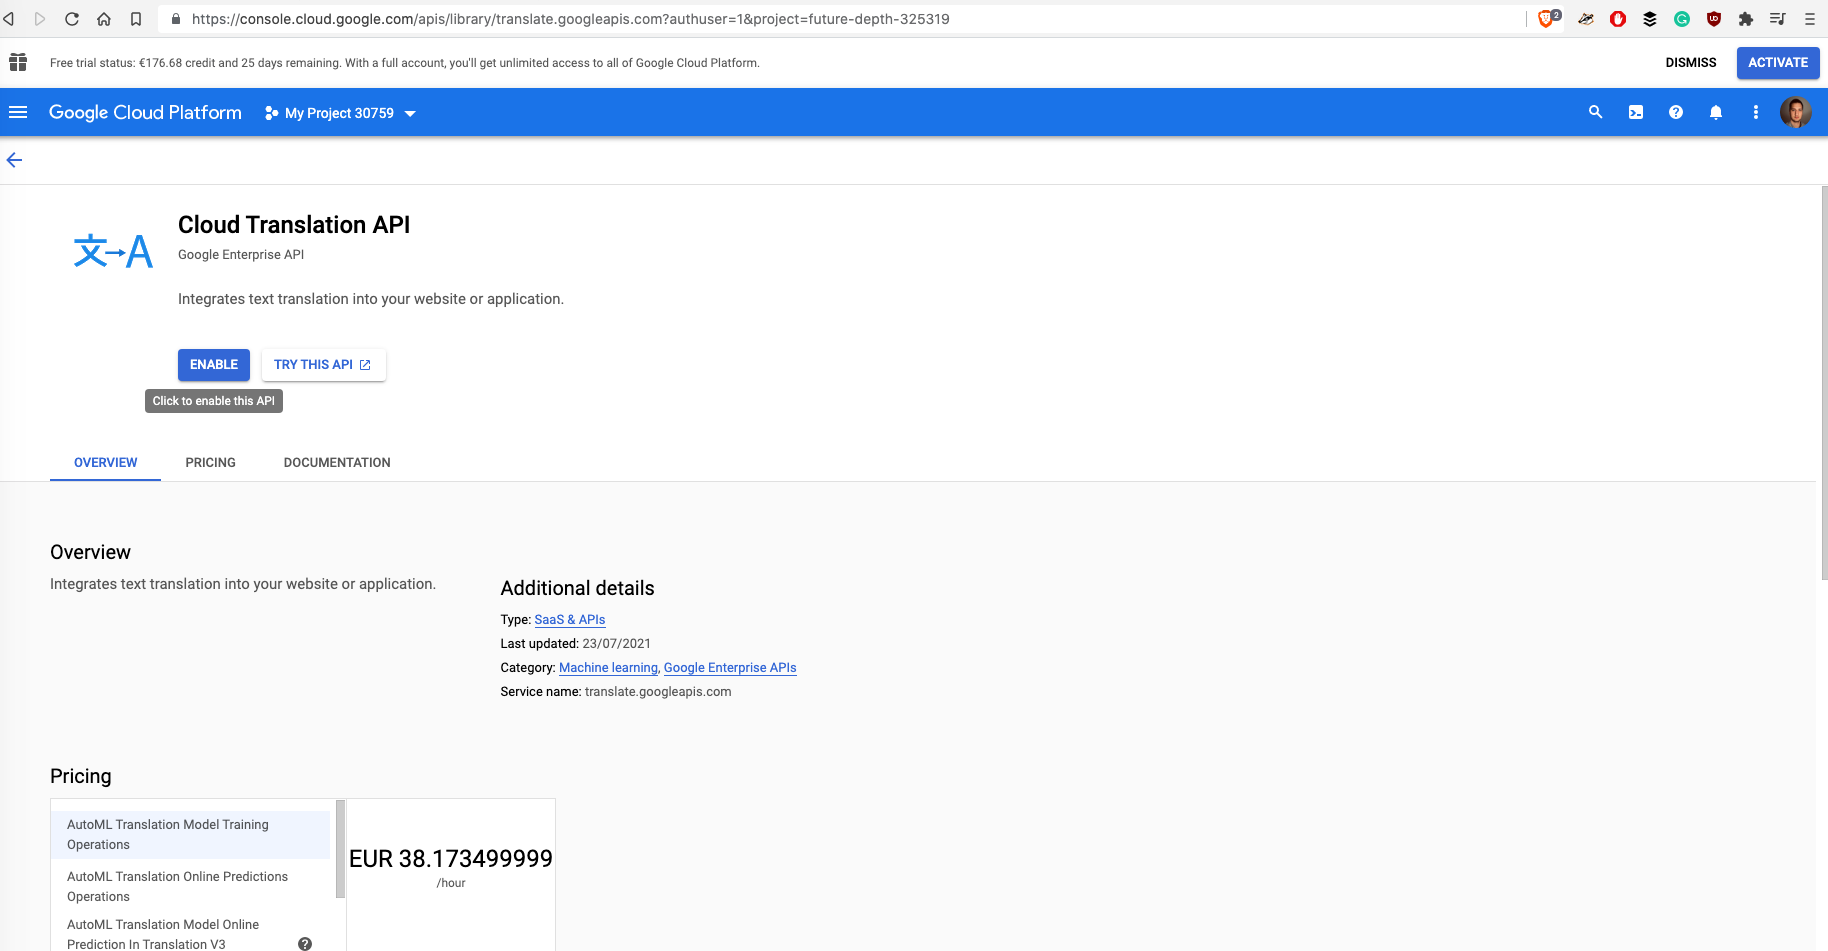
Choose Cloud Translation API:

Click on Enable:
And after few seconds, you will something like this:
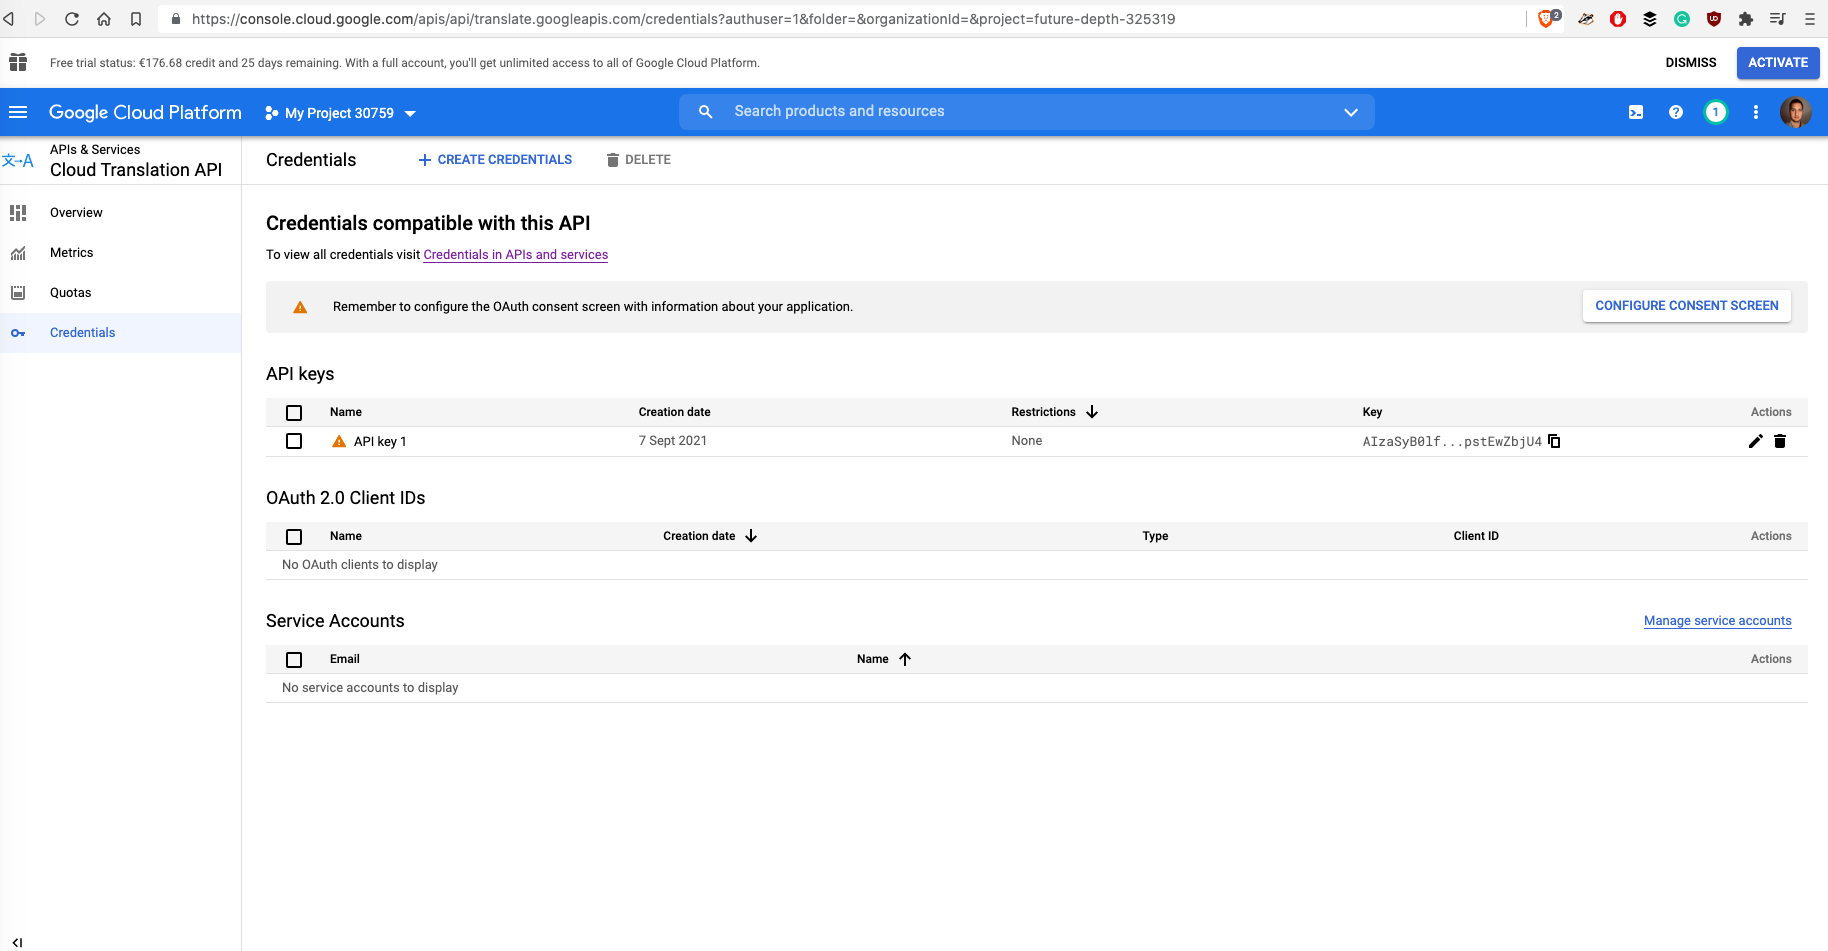
Now it means, that your API is enabled (and has assigned an API Key as a credential) and can be used from makeTranslations.js script. You can also customize key restrictions, or simply delete key, when you no longer need to use Google Cloud Translate API.
Well, that's all from Google Cloud for now.
After you have pasted an API key from Google Cloud console into makeTranslations.js, you can run this file with one of the following commands:
When scripts finishes, you will have localizations for almost 100 languages (that are supported by Google Cloud API and moment library) in scripts/translations folder.
Then just copy generated files from ./scripts/translations and put it inside src/localization/translations (when thinking about it, it could be tempting to automatize it - but for me, it's just one drag-and-drop that is not executed very often, so I do not see real meaning for automatizing that).
Congrats! Now, you just added localization support into React Native app.
In this tutorial, we briefly described 2 main localization strategies, installed necessary libraries, wrote NodeJS script that calls Google Cloud Translate API, generated API key in Google Cloud and finally put generated translations into React Native app.
Final Note: If you are using localizations with complicated sentences, Google Cloud may produce translations are not 100% correct and it would be necessary to hire translator or person who speak given language. However, very often strings in mobile app are just two or 3 keywords and for that Google Cloud delivers pretty optimal results.